This is our long-awaited Oak Cabinets Kitchen Renovation. We have been looking forward to this part of our renovation for the last year! Since we bought our new to us, downsized home last year we have been renovating it almost completely for our retirement. We will be painting our oak kitchen cabinets /cupboards instead of replacing them. Of course, we will also replace the white appliances with stainless steel. For all the details, keep reading below.
May 2023 Update with YouTube Video of our Kitchen, one year later:
Here is the full video of what our cupboards look like one year later (posted on my YouTube channel):
Painting Oak Kitchen White VIDEO
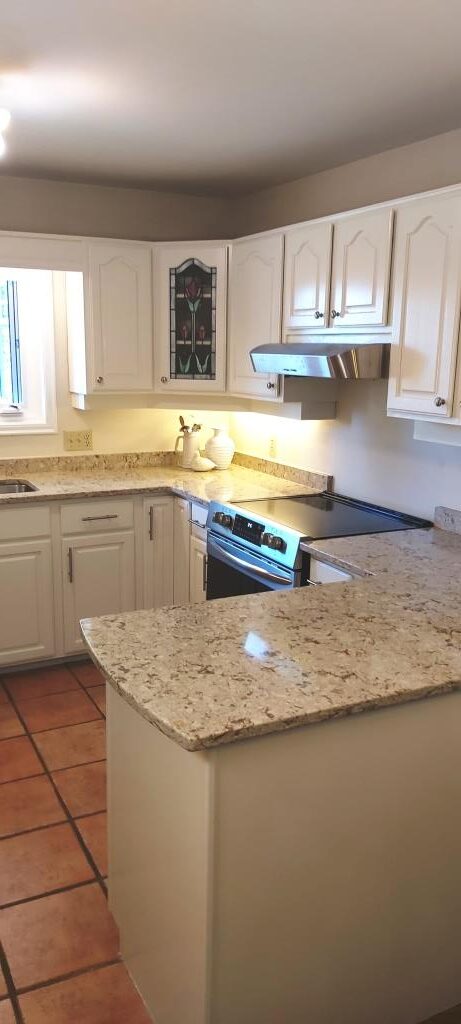
Here’s a photo of our white painted oak cupboards after the renovation. Keep reading for more before and after photos. We still have a few tweaks to do after this, landscaping, fireplace, heaters, before we will be done.
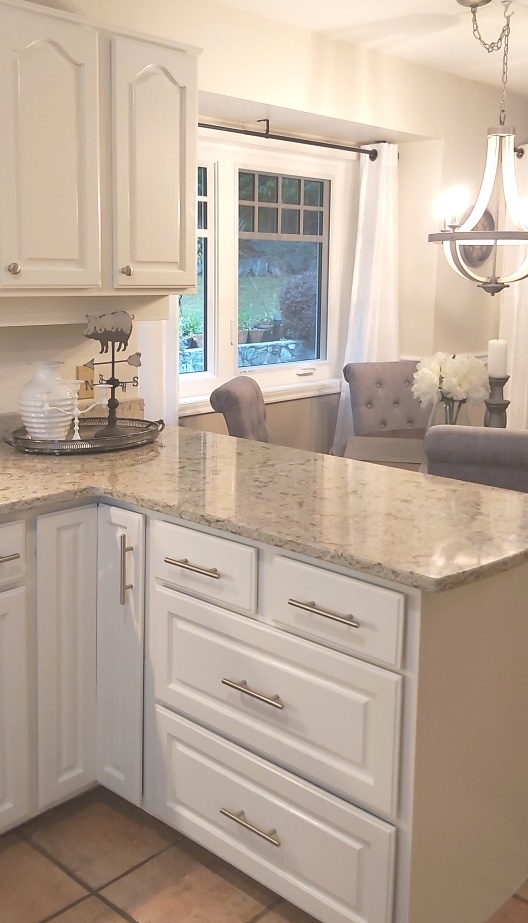
This post includes details on our kitchen renovation before and after, including painting Oak Kitchen Cabinets, replacing the appliances and all the hardware such as door pulls and hinges.
Original Post with all the Details Carries on Below
Well we are right in the thick of it as I right this post. Our painter from our exterior painting work has returned to help us and she will paint all of the Oak Kitchen Cabinets/Cupboards.
If you want to see our house renovation from the beginning, including staining floors, replacing roof, craftsman windows, doors, etc, then go to Our New Home and Renovation.
Options we looked at
Before we decided to paint the cupboards, we thought about our last 4 renovations and how we had installed brand new cupboards in each house. In the end, for the cost of installing new cupboards, everything else being the same, the quality of the new cupboards is just not quite up to par with the solid Oak Cupboards we have now. You would have to upgrade to the solid wood option, which instead of costing $15,000 – $20,000 for the cupboards alone, would likely cost $25000 to $30000.
Just before we sold our last house, we made the mistake of putting the boiling kettle underneath the corner cabinet. Within minutes the mdf board in the center of the cupboard started to expand. Luckily we caught it fast enough, but OMG, I was not happy!
So that is definitely something to consider, if you have kids or just like to not worry about something so basic!
So our alternative was to paint the existing oak cupboards. Yes they have the lovely arch in the top of the center panel. But once they are painted white, that will be hardly noticeable. Also, since our kitchen already had granite counters, to remove the granite, replace cupboards and then reinstall the granite, it seems like a lot of work for not much benefit.
When we finish this part of the kitchen, I expect we will have saved at quite a lot by painting instead of replacing! Our painter is charging us a reasonable hourly rate, so that helps too. Good thing too, since our renovation budget for this house is almost maxed out. We have already bought the new appliances, and will replace the range hood that we purchased, soon.
Before Pix
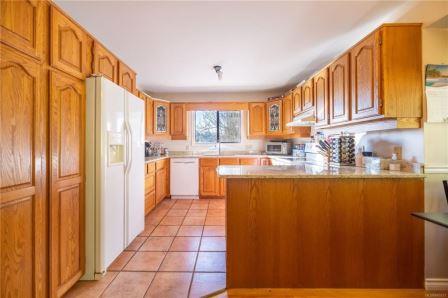
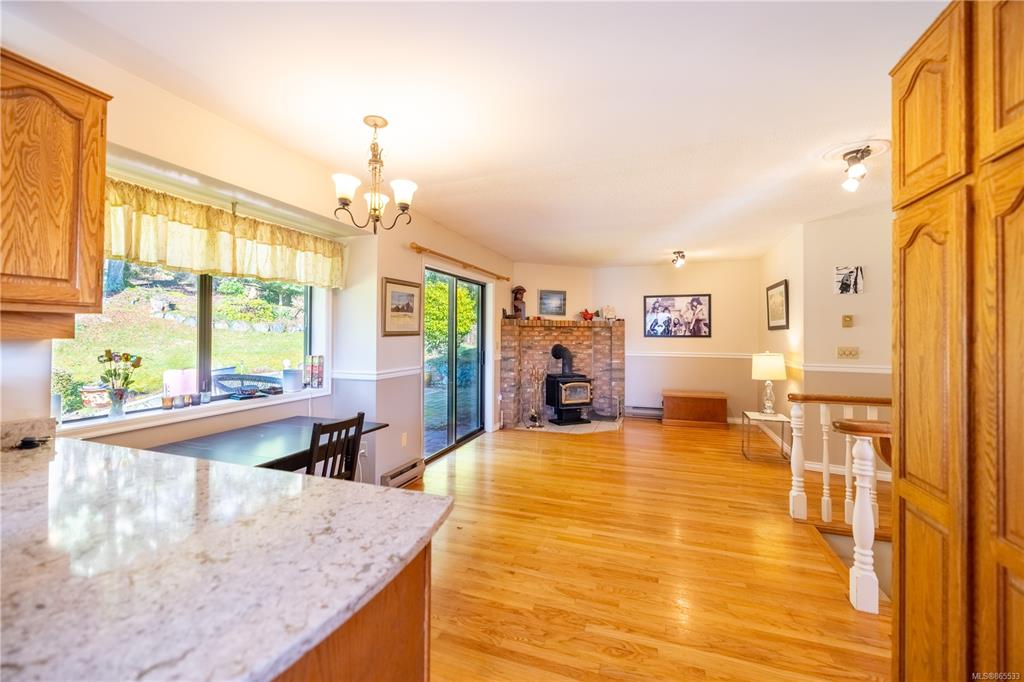
Here are a few before pix of the kitchen. These are the pix BEFORE anything was done, before we moved in. Since then, we have replaced windows, refinished our hardwood floors and completed renovated the exterior of the house. If you want to see those updates, start at the beginning here: Our New Home and Renovation.
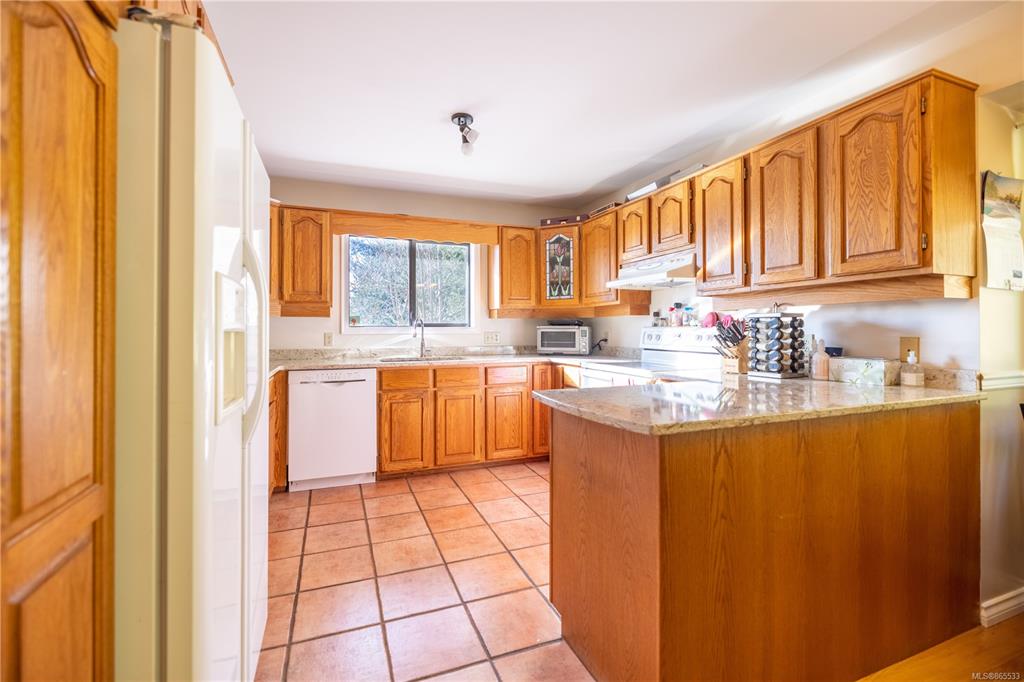
This was probably the only major issue we had with this house. Everything else could be changed easily. The kitchen is a bit small and we preferred an island. But oh well! It doesn’t have to be perfect it just has to be functional. There is only the two of us now, so a peninsula is okay!
Our lovely stained glass!
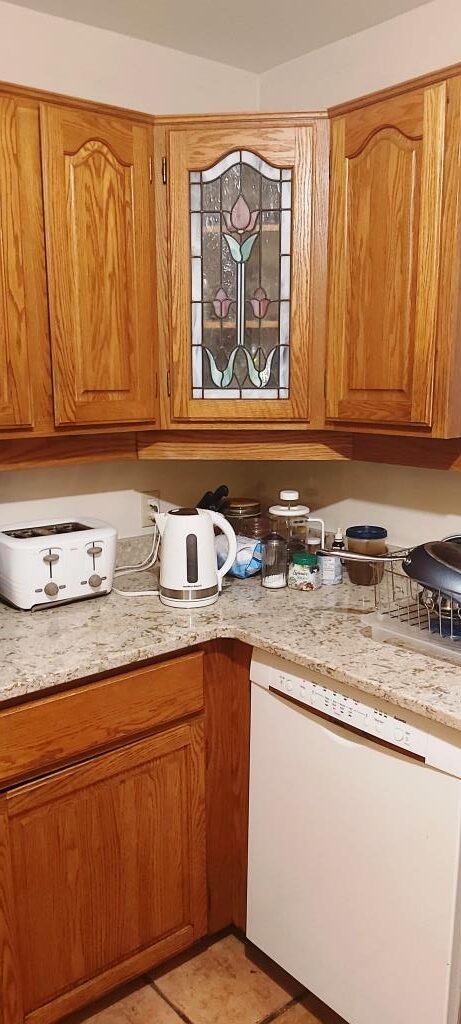
Again in the other corner…
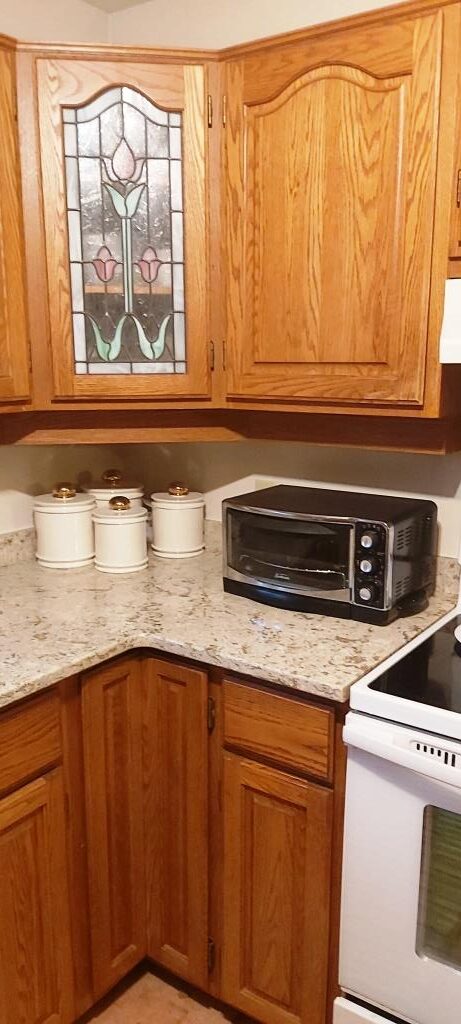
We are still not sure what we are going to do with the rose stained glass in the two corner cabinets. It may be possible to replace with mullions or muntin bars, or just order a new door. But for now we will paint them and then get a quote for replacing the glass.
New Appliances First
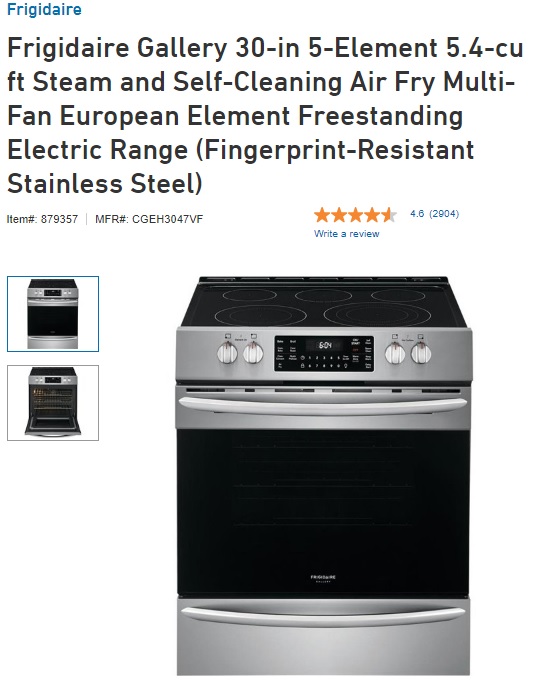
We finally ordered our new Stainless Steel Appliances. In the end we went with the Fridgidaire Gallery low profile range. It has the air fryer included so that was an unplanned bonus. For our dishwasher we ordered the same Bosch we had in Stainless Steel. Our son will use our white one in his place. And for our fridge, we originally ordered a Fridgidaire Gallery French Door with Ice, but after two attempts to get it delivered, we ended up with an LG French Door with Icemaker. The first time the fridge was delivered, it was the wrong one. The second time it came it was damaged, OMG. And they had no more in stock. So we went with the LG. Very similar and ‘good enough’.
Here is the Dishwasher we ordered:

The Stovetop Range as I mentioned is the Fridgidaire Gallery. We are really happy with it and everything cooks so fast! Note the low profile. We had this in our last renovation and I was determined to get one for our own place after I saw how good it looked in the kitchen.
Here is the French Door Fridge we ordered:

After the New Stainless Steel Appliances
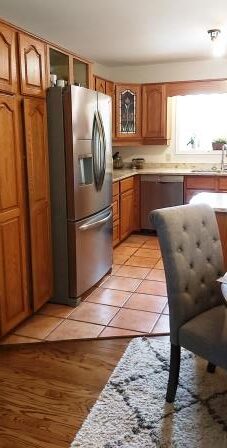
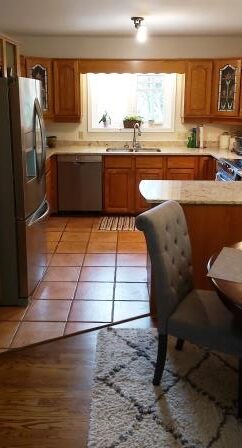
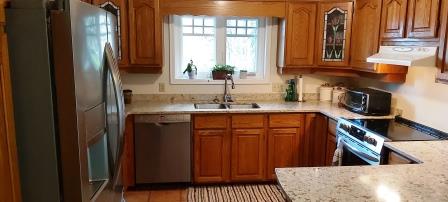
Here are a few pictures after the appliances. Now we are getting somewhere. OMG, if I had to look at those white appliances much longer… Anyway, we still have to install our new range hood, but that will get done soon, too. Also the cabinet above the fridge is too low, so we took the doors off and will have to order smaller doors or slightly chop off the ones we have. We haven’t decided yet 🙂
Update: Our carpenter was able to use the existing cabinet door and cut off the bottom, and reattach the bottom section…omg, amazing what a good carpenter can do.
The valence over the sink.
Another angle.
Prepping for the Paint
You forget how much stuff is in your kitchen, until you start preparing for painting. I spoke with the painter and since she was going to use a roller instead of a sprayer, we don’t need to empty the cupboards completely. They will still be accessible throughout the process.
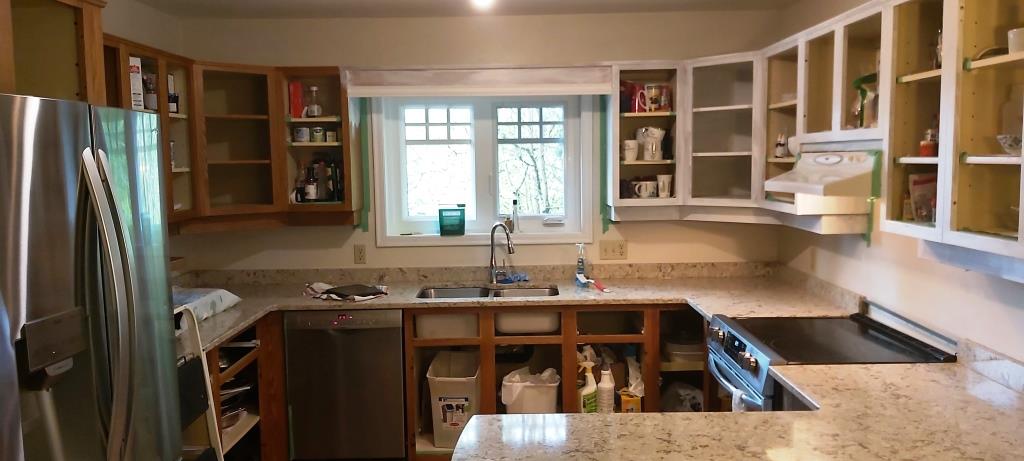
Here are some of the cupboards partially empty. You can see a sneak peak of our new appliances. You also might notice that the before picture still had the old kitchen windows but now our new windows are in with the muntin bars.
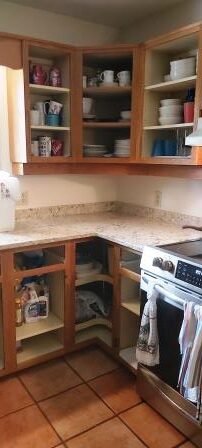
Getting messy.
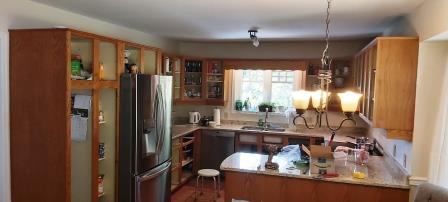
Again, getting all the doors off.
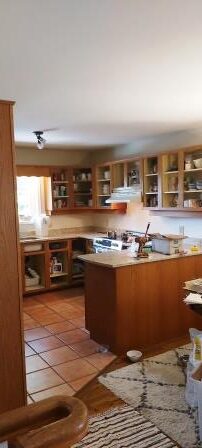
We took off all the doors and drawers and hardware so that she can prep the wood, with a professional cleaning product. Before that, we drew a rough diagram of the doors and numbered each door, just in case doors of the same size had their hinges on in slightly different heights. We still aren’t sure if we were reusing the hinge holes or not.
Hinges and Drawer Pulls
Our old hinge hardware was actually still pretty impressive. Its a semi-concealed hinge self closing hinge with 1/2 inch overlay in an antique brass (Picture to follow). These hinges are still being sold today by Amerock and Richelieu. We will replace the same style as close as possible with brushed nickel, and have narrowed it down to a couple choices. Then we will look for the best price after trying one out.
Update: Now we are thinking we might even go with slow close, if we can figure out the best ones for our cabinets. Our cabinets are face frame cabinets with a 1/2 inch overlay.
As I look at the pictures below, it looks like the A with a circle might be Amerock, with a Patent Pending number. Good for them, because I don’t think any company is making ones quite the same. Richelieu has a similar product. We will be replacing them with Brushed Nickel in the same style, unless we go with soft close.
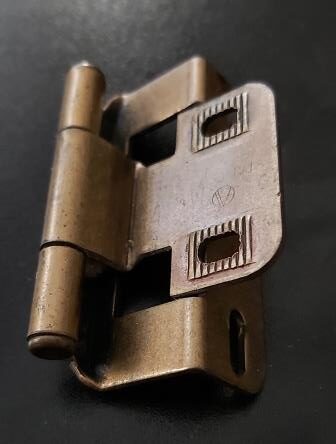

We didn’t actually have any cabinet pulls on the existing doors! So that made it easy. We can decide if we want pulls, and it will be fairly easy to add new pulls of any type. I am sort of leaning towards the farmhouse half circle pulls, but will see. Since our kitchen is going to look a bit less modern, we don’t want to put fancy new pulls that won’t go with they style of the cupboards and the terracotta tile floors.
Update on Hinges: June 13, 2022
We decided to try to look for a soft close hinge to go with our cabinets.
Specs:
Face Frame Cabinets
1/2 inch overlay (Door is 1/2 inch bigger on each side of hole/gap it covers)
Doors are 3/4 inch thick and frame is 3/4 inch thick.
Soft Close
Fully Concealed
These are a little hard to find for the older cabinets. The Blum is considered a good brand, so we got a deal of course on Amazon and saved $3 per hinge from our contractors price of $8.50. Can’t be that. Here they are if you want to check them out. As an Amazon Associate, I may earn a small commission at no extra cost to you the buyer. Amazon Link to BLUM Soft-Close 1/2 inch overlay.
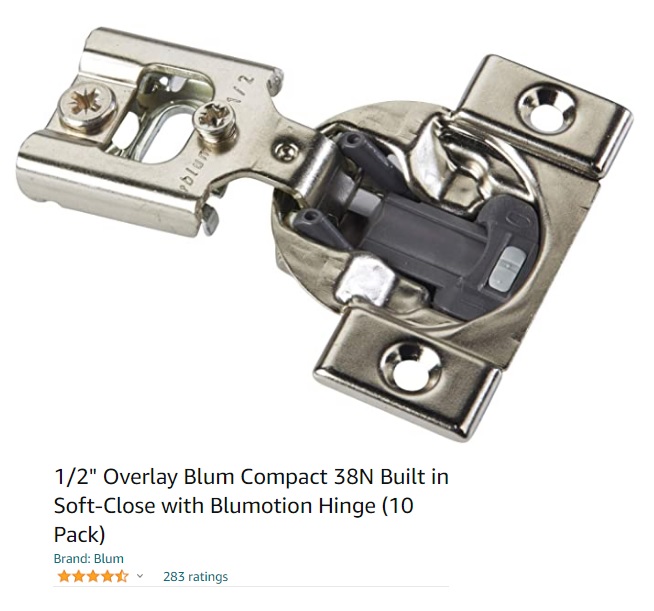
I ordered 6 packs of 10, so we will have a few spares, but they are supposed to be a good brand and should fit our specs.
Here is a picture (from the end of our project) after they were installed by our cabinet installer. It pays to have a professional carpenter do the hinge installation. They have all the tools to cut out the holes in the back of the cabinet door and get the distances correct.
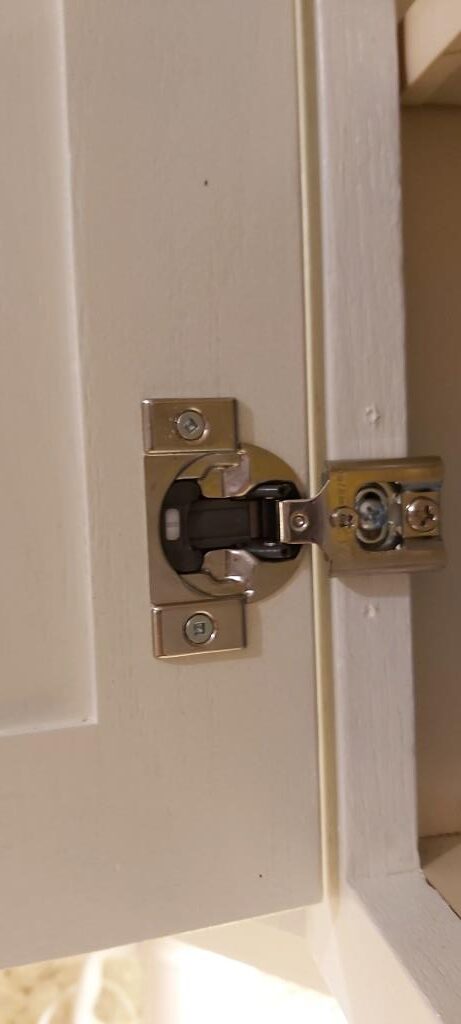
The doors operate really smoothly now and quiet, awesome!
Our Selection of Paint
After much deliberation on the color, we decided to go with Dove White by Behr, in a Cloverdale Renaissance product. It is a hybrid product, and is supposed to be great for cabinets, very sturdy to withstand wear and tear.
Prior to the paint we will use a Primer that is recommended for Stained Wood. By Cloverdale, it’s called Stain Blocking Primer. More details further below.
Day 1 and 2 of Painting
Our painter started working on the cabinet doors in the garage. She spent about 6 hours just prepping all the doors by cleaning them with the cleaning solution and scraping off any gunge. The doors were actually in pretty good shape. We bought fill for her to use just to fill the holes or knicks if any. She says that soap and water work just as well for cleaning them.
The Test
We weren’t sure if we were going to hide the wood grain or not. So we asked her to do a test door, with the cleaning, the primer and one coat of paint. So then we could see how much wood grain would show through. After 1 coat of primer and one coat of paint (on the back of the door), here is what the door looks like.
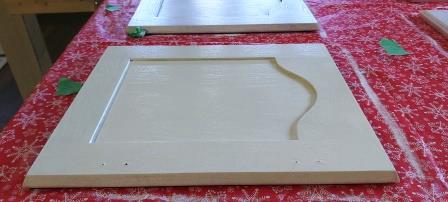
Can see the lovely wood grain.
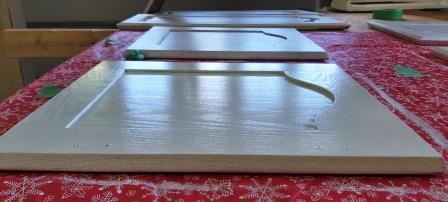
Another view.
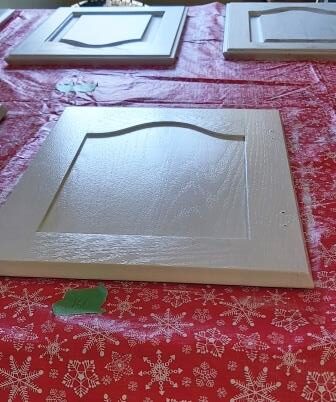
We love it! The last picture really shows it well. I actually think the wood grain adds a touch of character to the door, and makes it look more expensive because it is real solid wood. I will include a picture after the 2nd coat of paint.
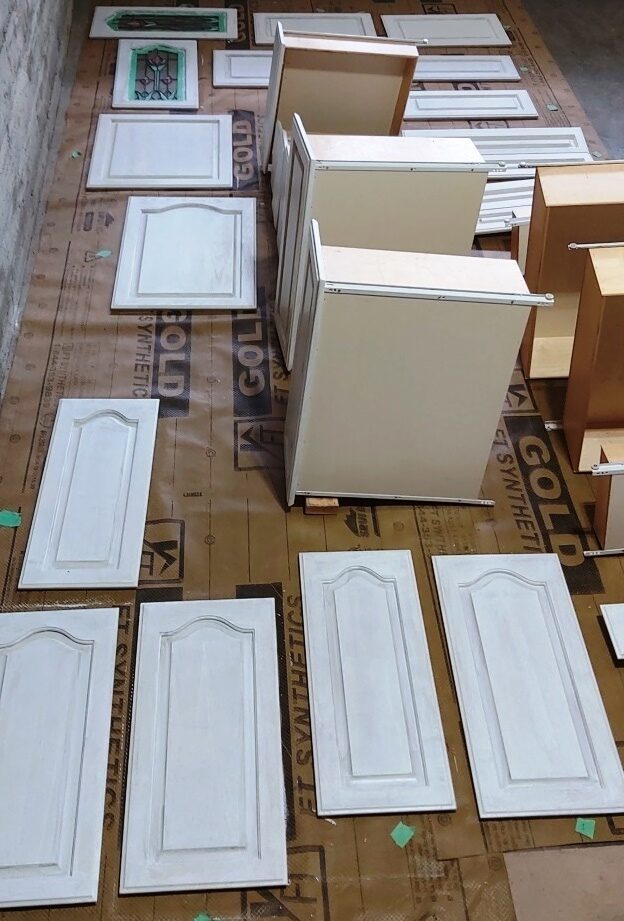
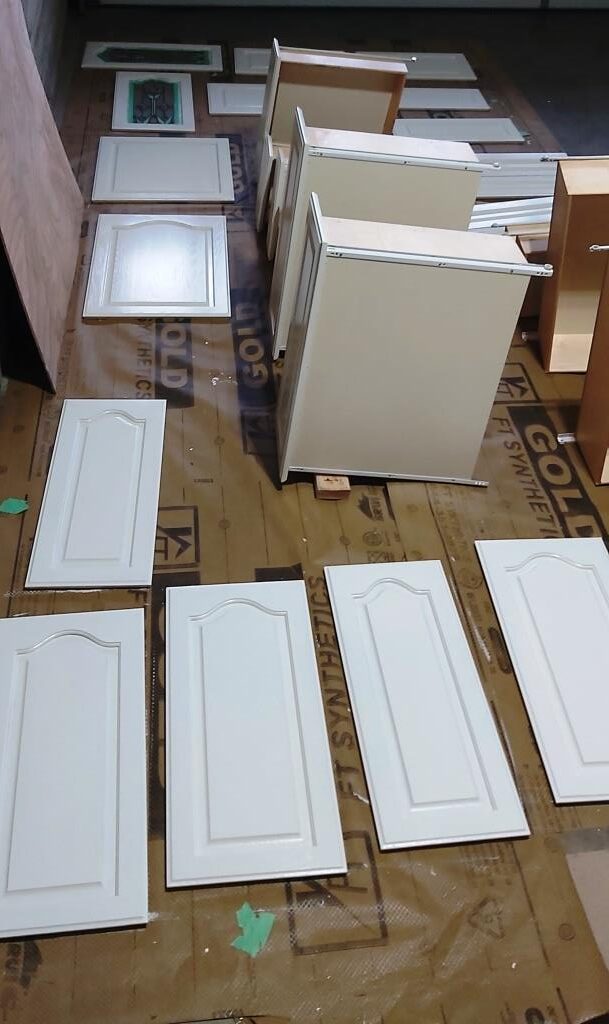
Here are all the doors and drawers after the coat of primer.

All organized as she worked.

More priming.
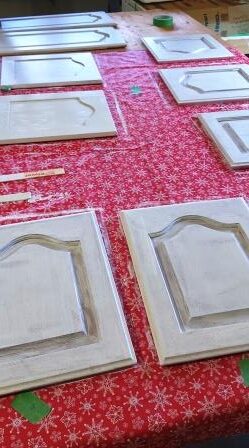
Again another view.

Good to have the paper underneath all of it.
Day 3 – 5
Here is what the doors are looking on the backs of the doors and the front of the cabinet drawers after 1 coat of paint. They are looking really good and even though the grain in showing through, I actually prefer this look. The wood looks more expensive and I like the fact that you can tell it is solid wood.
One Coat on the Backs of the doors and drawer fronts
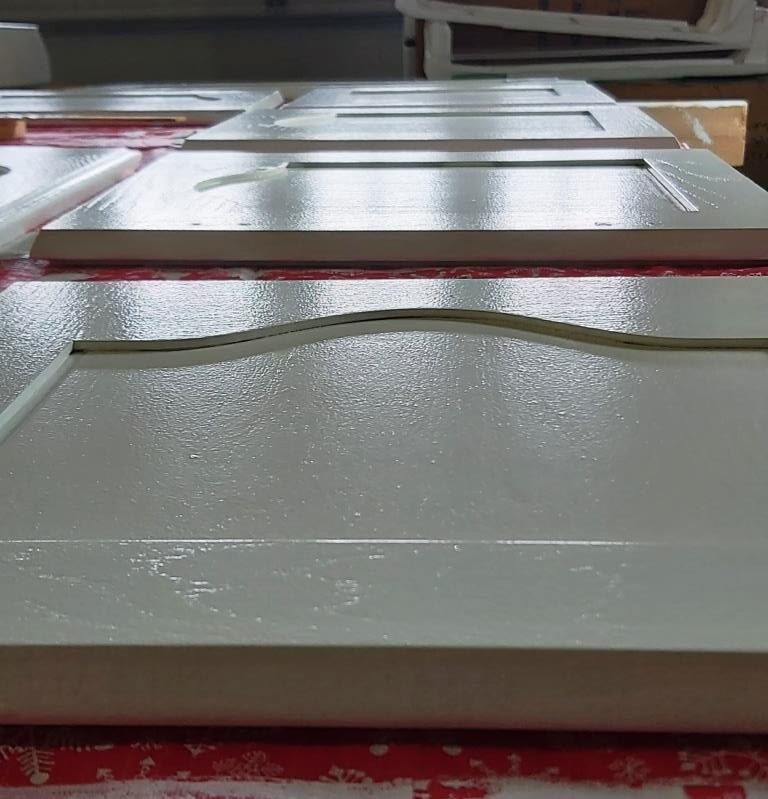
1st coat is on
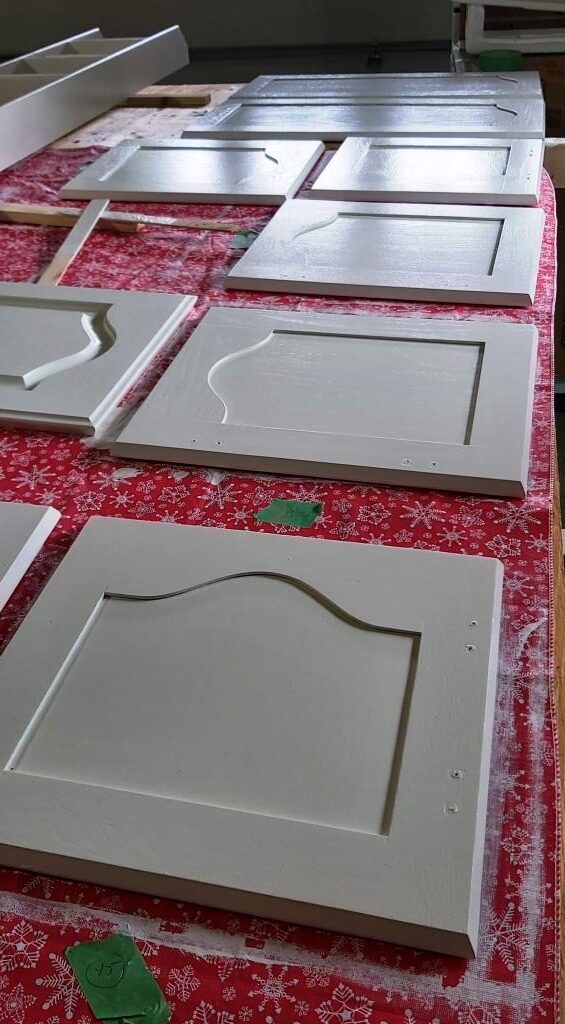
Looking white and bright!
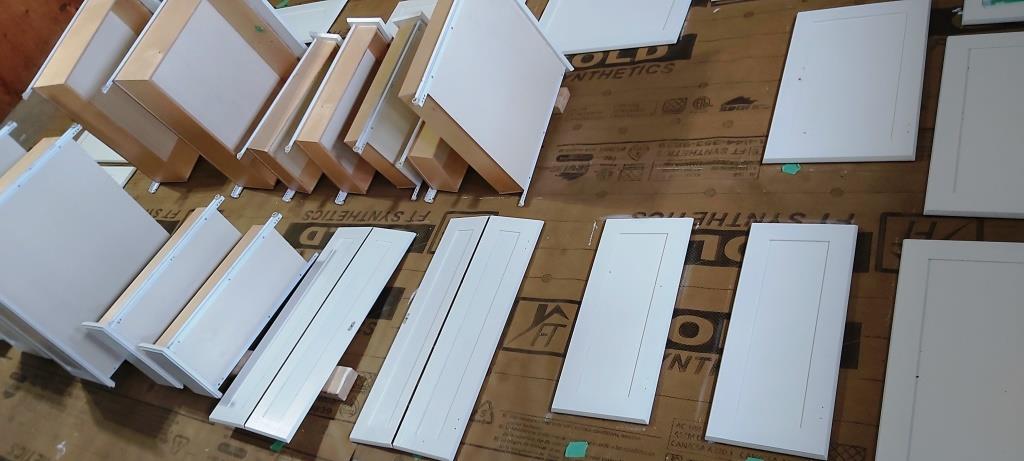
Products we are using
The two main products we are using are a stain blocking primer from Cloverdale Paint:

The paint we are using is a hybrid enamel in a semi gloss called (melamine) in their product line. This product will harden and be very durable for cupboards.

The color we are using is Benjamin Moore White Dove OC-17 in this Cloverdale Renaissance paint. I looked at many samples online and because we have the terra cotta style floors in a reddish brown color, it was best to go with a warmer white. It will also go well with our granite counter top which has both beiges and greys in it.

Our painter is using both brush (for grooves) and small rollers to paint the cabinets. This will not give as smooth a finish as spraying, but it will look a bit more rustic and hide any imperfections, nicks or scratches better.
Reminder: Make sure you follow the manufacturer’s instructions about letting the paint dry well enough between coats and cure at the end. Consult a professional painter regarding methods and whether you should sand between coats.
Day 6 – 10
Our painter is part-time, so that is why it is taking a bit longer. However, she is a professional painter so it’s worth the wait!
Here is what the cabinet doors look like after 2 coats. The doors look great! And I love the wood grain!

Another view.
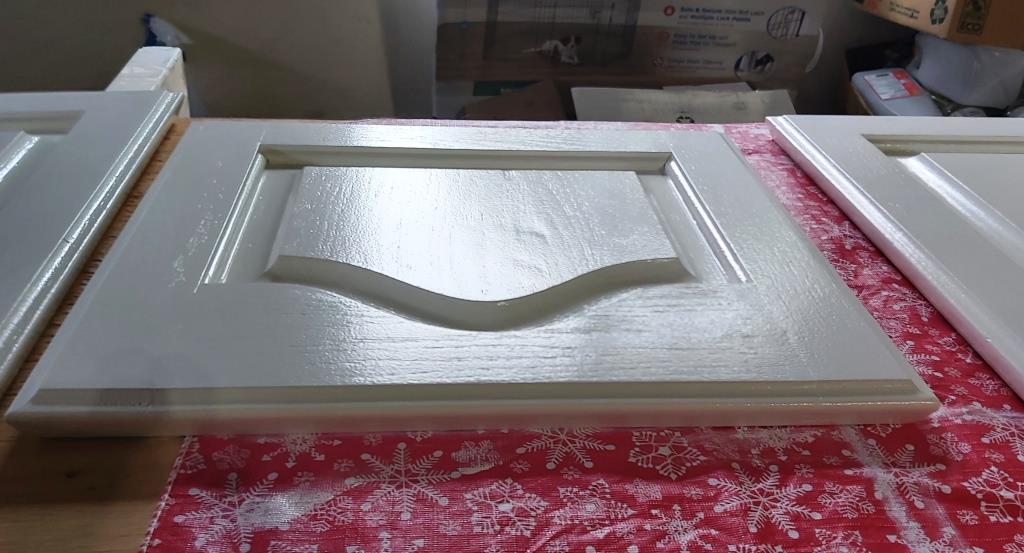
The pantry door.

Another view.
After 2 coats of paint on the Base Cupboards
Here are the base cupboards after the primer.
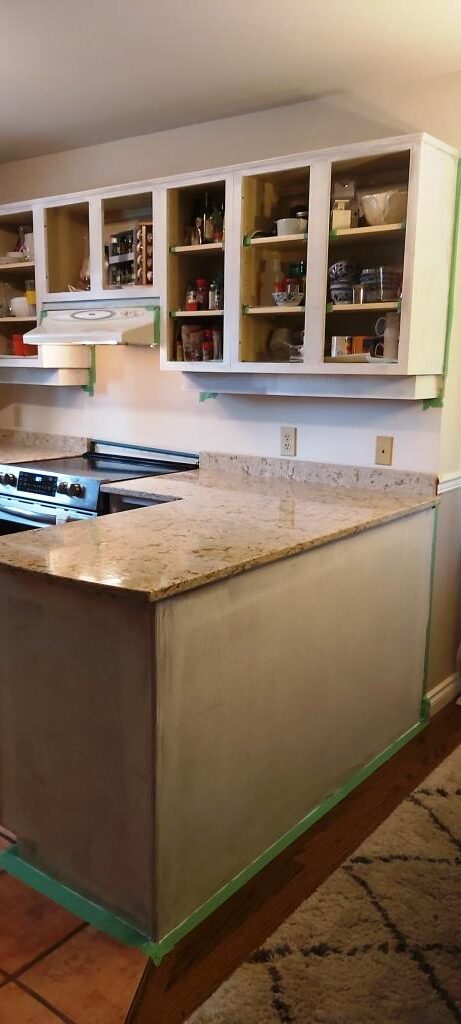
In the picture below you can see she is still working on the primer on the left side. You can already see what a difference it is making! Also my hubby cut off the wavy panel above the window and add a trim piece to be painted.
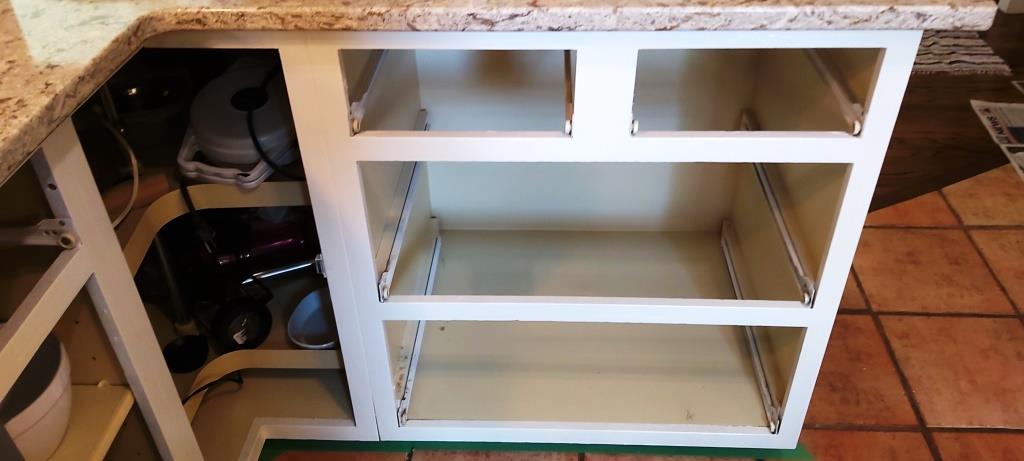
Here are the base cupboards after two coats of the White Dove OC-17.

Lower part of the peninsula.
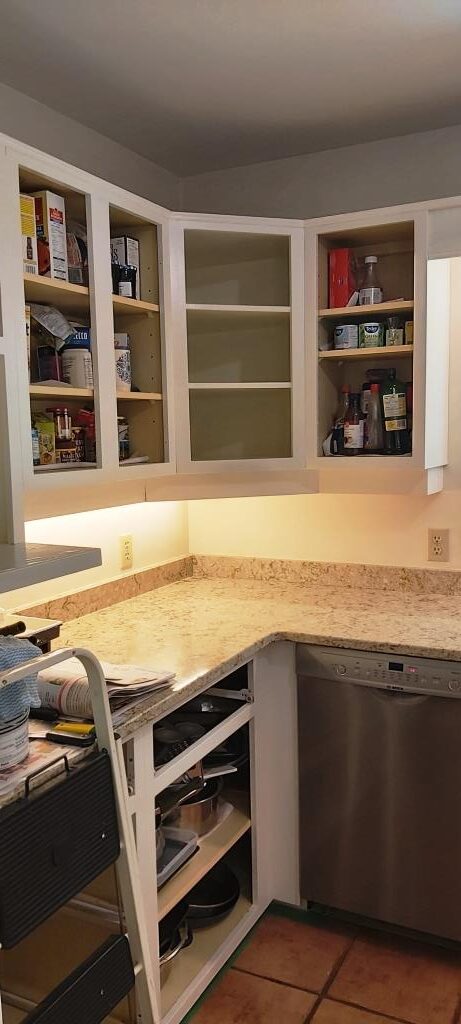
Upper corner cupboard.
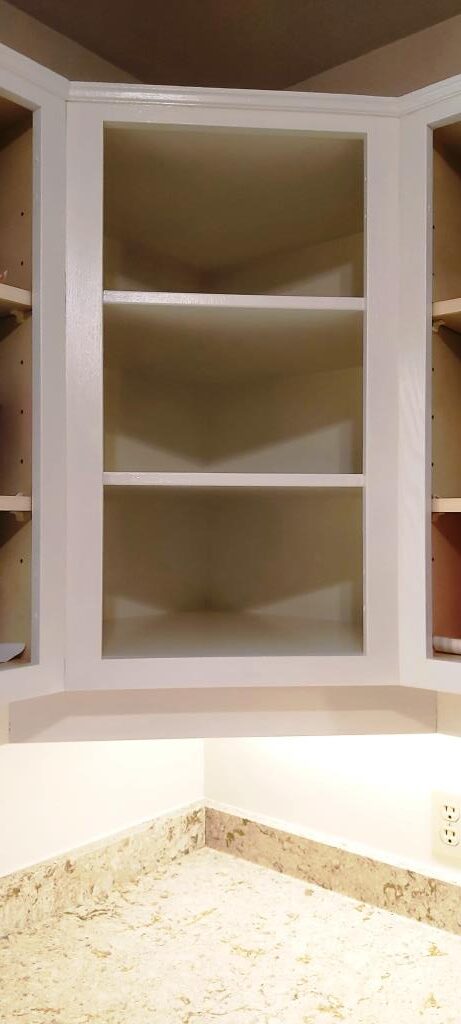
Close up, painted in side corner cupboard.
Other corner cupboard.
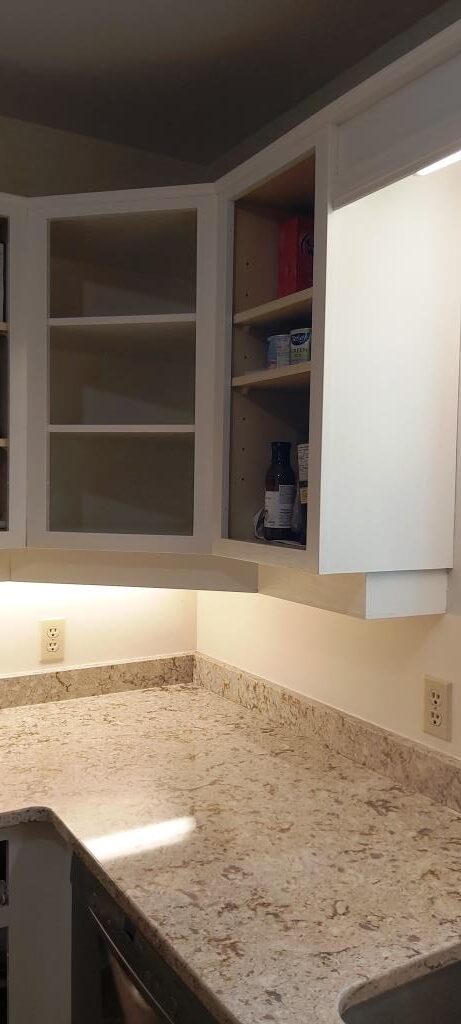
Now that we have ordered our hinges, we just need to confirm our door pulls. Our contractor is going to install the hinges and the pulls, as well as the new Stainless Steel hood fan. We also still have to decide what to do about those stained glass corner cabinet doors. But we might just put them up and see what they look like. We will probably cover the peninsula front with bead board, but again, will wait till it’s done and we can add that later 🙂
Until next time!
Stay tuned and check back for my update on the cabinet doors being installed! So exciting to get this part of our renovation project completed soon. It’s gonna look great and so much better than it does now.
June 28th, 2022 Update:
Well we did it, the cabinets are painted with one more coat of paint and installed with the new soft close hinges. We also have added the 7″ bar pulls to all the lower cabinets and drawers and plain stainless steel knobs for the upper cabinets. Our installer also installed the new range hood for us.
Here are the results:
Here are the top cupboards…Looking good!
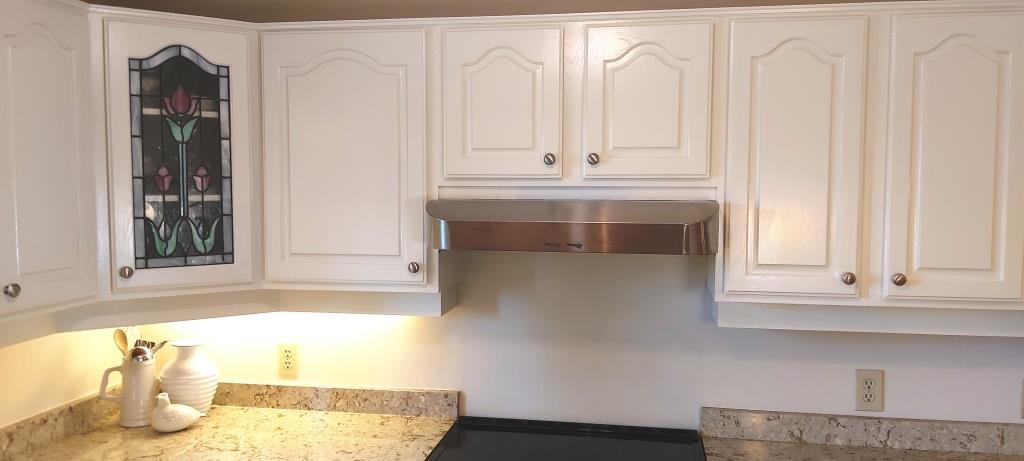
A close up of the corner cupboard.

If you remember the wavy 80’s valence that was above the window…my husband cut it off across with his reciprocating saw and added new trim board. Looks great! The wood was so hard, so it was difficult to cut a straight line, but we were going to add a trim board anyway, lol).
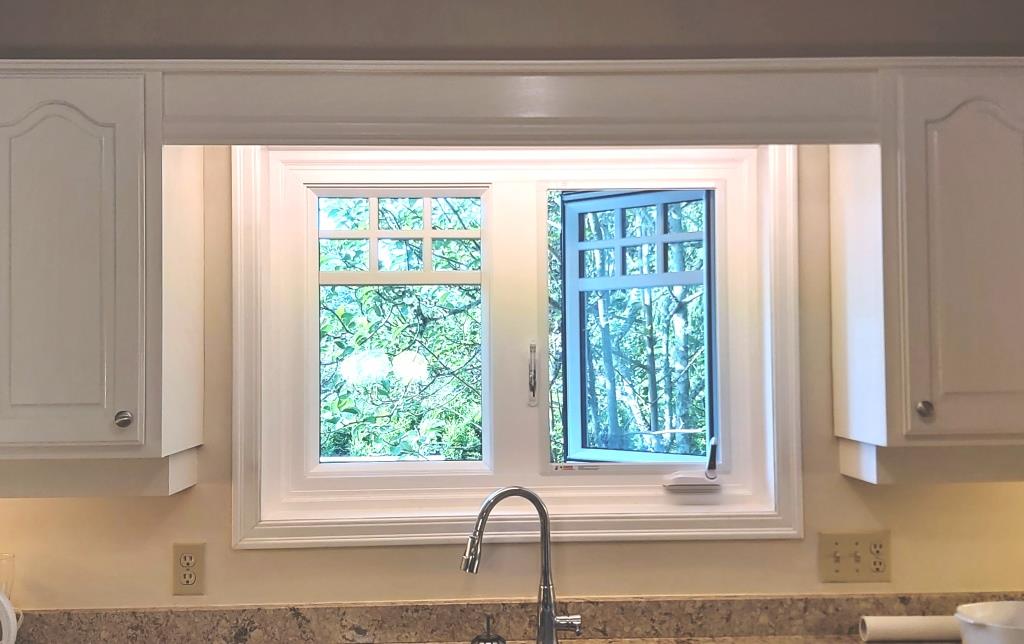
The combination of the plain knobs on the upper cabinets and the bar pulls on the lower cabinets is a good one. It wouldn’t look right to put the bar pulls on the upper cabinets with those arched doors. But on the lower cabinets, it does give the effect of a more modern kitchen.
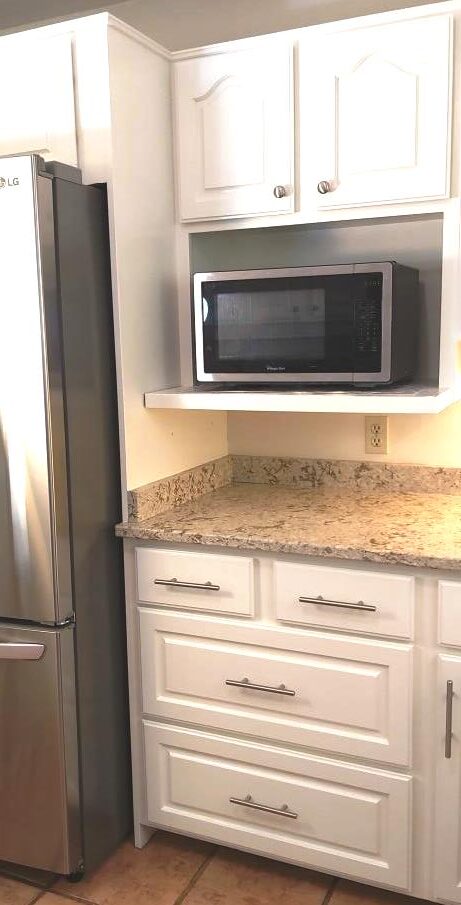
The other side.
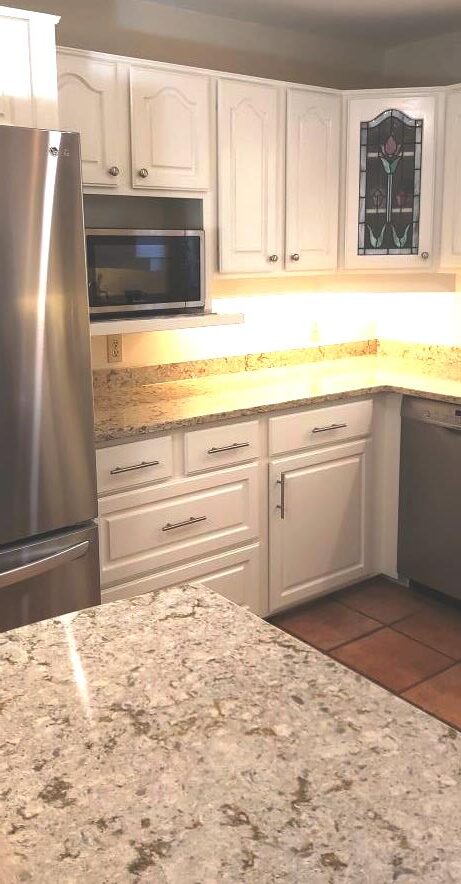
As you can see, we still have a few tweaks left: the backsplash needs to be done, and the lighting could be changed. We also need to decide if we want to change out the leaded stained glass corner cabinet doors. But overall, we are very happy with the result of this White Dove color in the Renaissance paint.
Reminder: Make sure you follow the manufacturer’s instructions about letting the paint dry well enough between coats and cure at the end. Consult a professional painter regarding methods and whether you should sand between coats.
Update July 3, 2022 – New Chandelier
Well last weekend we installed the new farmhouse chandelier for the eating area in the kitchen. What a difference that makes! It is the same style as the one we put in our last house that we sold before downsizing. I really liked that chandelier so we bought it for our new home. Here it is:

Here is a full view of the kitchen after painting our Oak Cabinets with White Dove OC-17! I just love them! Definitely good enough for this retiree!
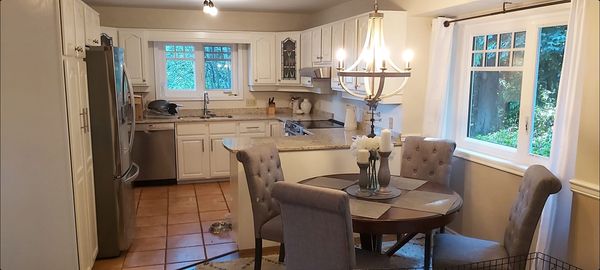
If you want to see our house renovation project from the beginning, here is the link: New Home and Renovation.
Update: February 2022 – Cloverdale Renaissance Paint Review
Our kitchen cabinet paint with Cloverdale Renaissance Paint is holding up quite well. We have one door under the sink which has a couple of ‘marks’ on it, but I believe this is because we didn’t let the paint cure quite as long as we should have. I plan to post pictures after 1 year and show what they look like at that point. Overall I am very satisfied with our paint selection.
Update: May 2023 – THE VIDEO
See the video at the link here: Painting Oak Kitchen White VIDEO with all the details of what our cabinets look like one year later! Hope this helps you in your decisions.
Hope you liked this post on our Oak Cabinets Kitchen Renovation. Feel free to leave comments below.
🙂 Bonnie
